
Homemade Bread
This homemade bread recipe bakes up with a beautifully golden crust and a soft, airy center. Made from simple pantry staples, it’s an easy yeast bread for anyone who wants to make fresh bread from scratch at home.
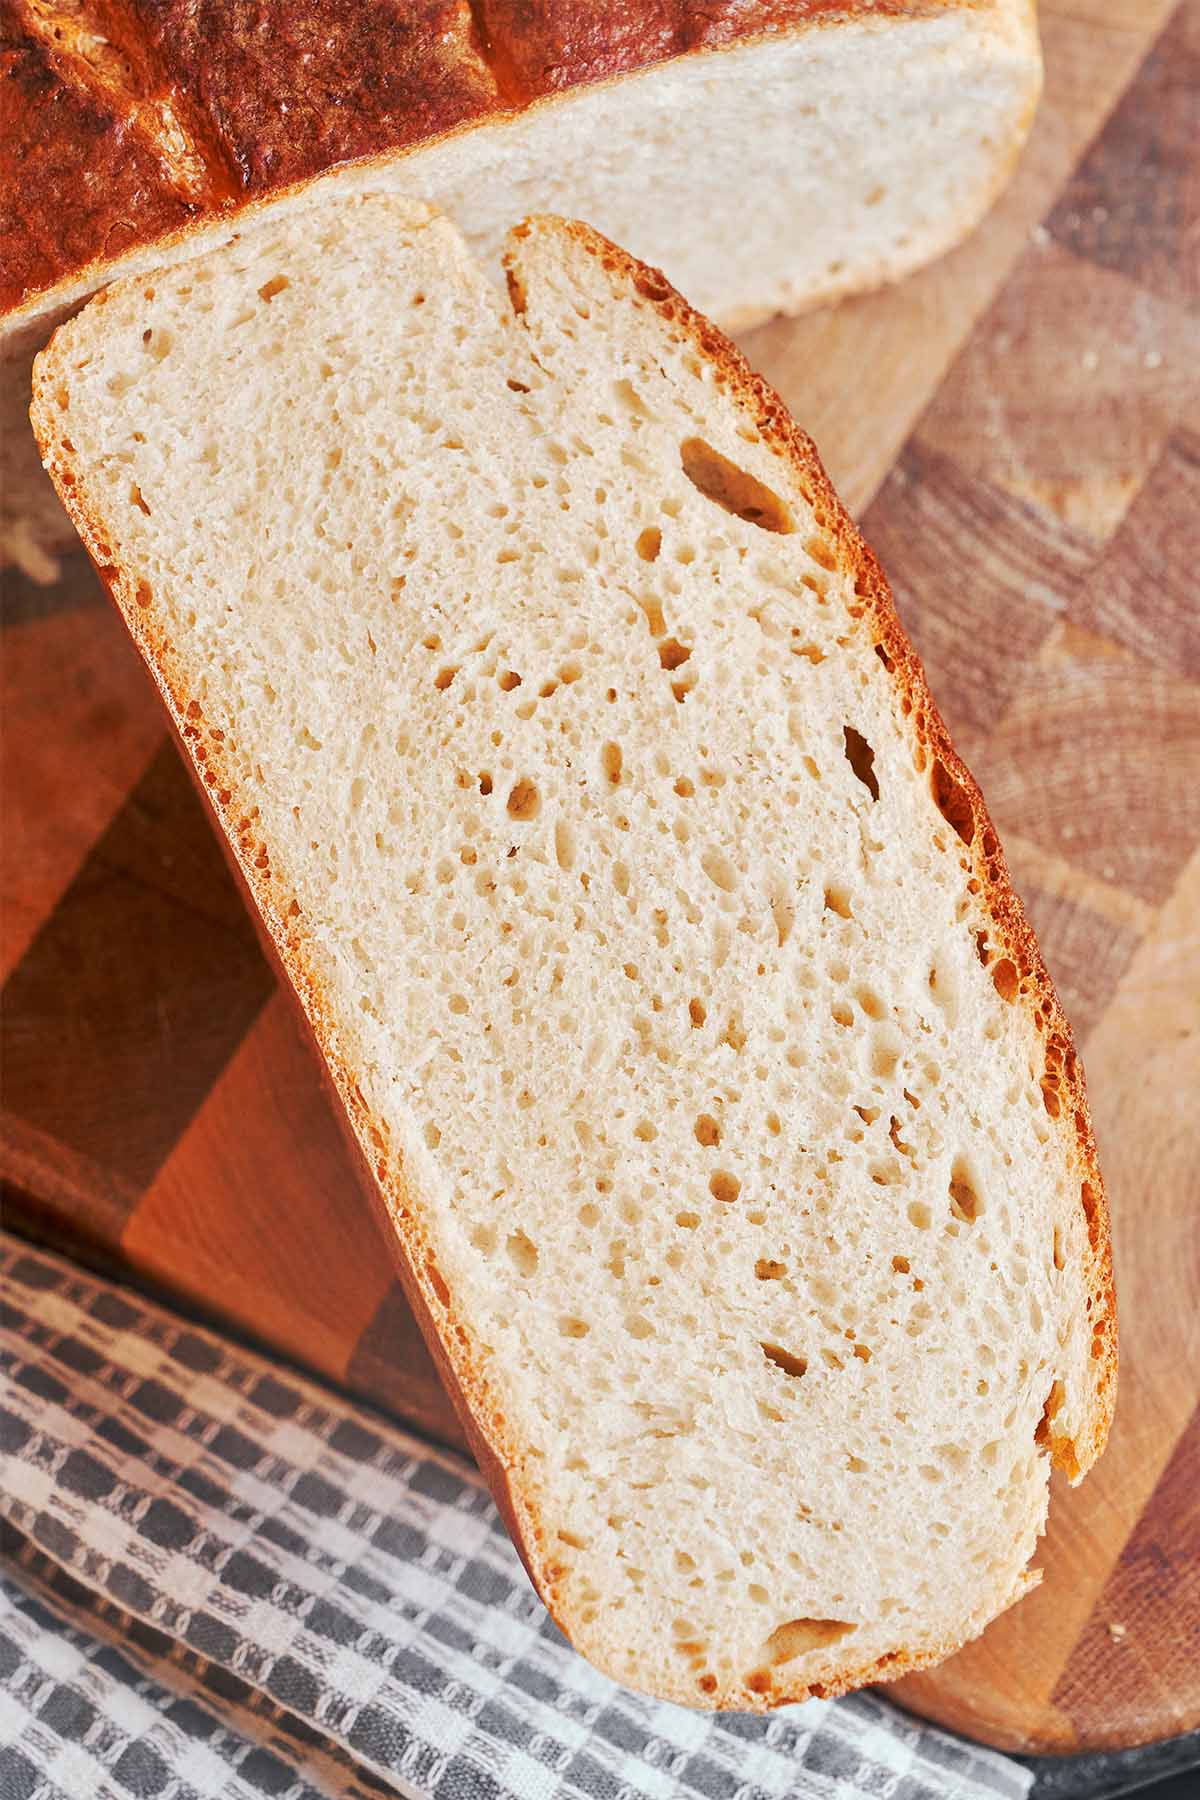
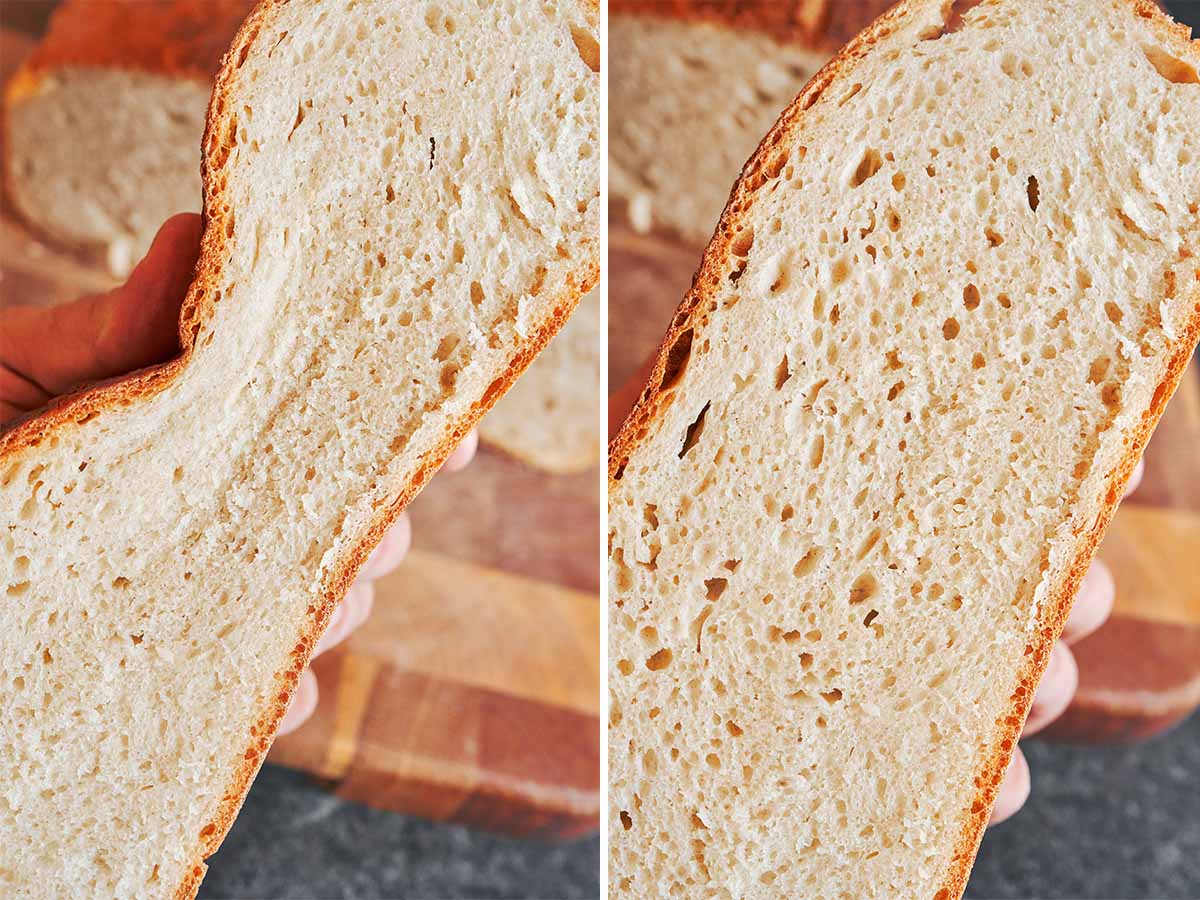
The dough is simple to work with, and the two rises give this homemade white bread a light, tender crumb before it goes into the oven. I especially love the contrast between the deeply golden crust and soft center, which makes it just as good for sandwiches as it is toasted the next morning.
This homemade bread is especially good with warm, comforting meals where you can tear off a piece and soak up every bit of sauce. Serve it with Creamy Chicken Cheddar Potato Chowder, Oven Baked Meatballs in Tomato Sauce, or a bowl of Classic Beef Stew for an easy, cozy dinner.
Why This Recipe Works
This bread starts with a quick yeast mixture, which gives you an easy visual check that the yeast is active before it ever reaches the flour. From there, a thorough knead builds structure in the dough, while adding the oil afterward helps keep the finished crumb soft without making the dough heavy.
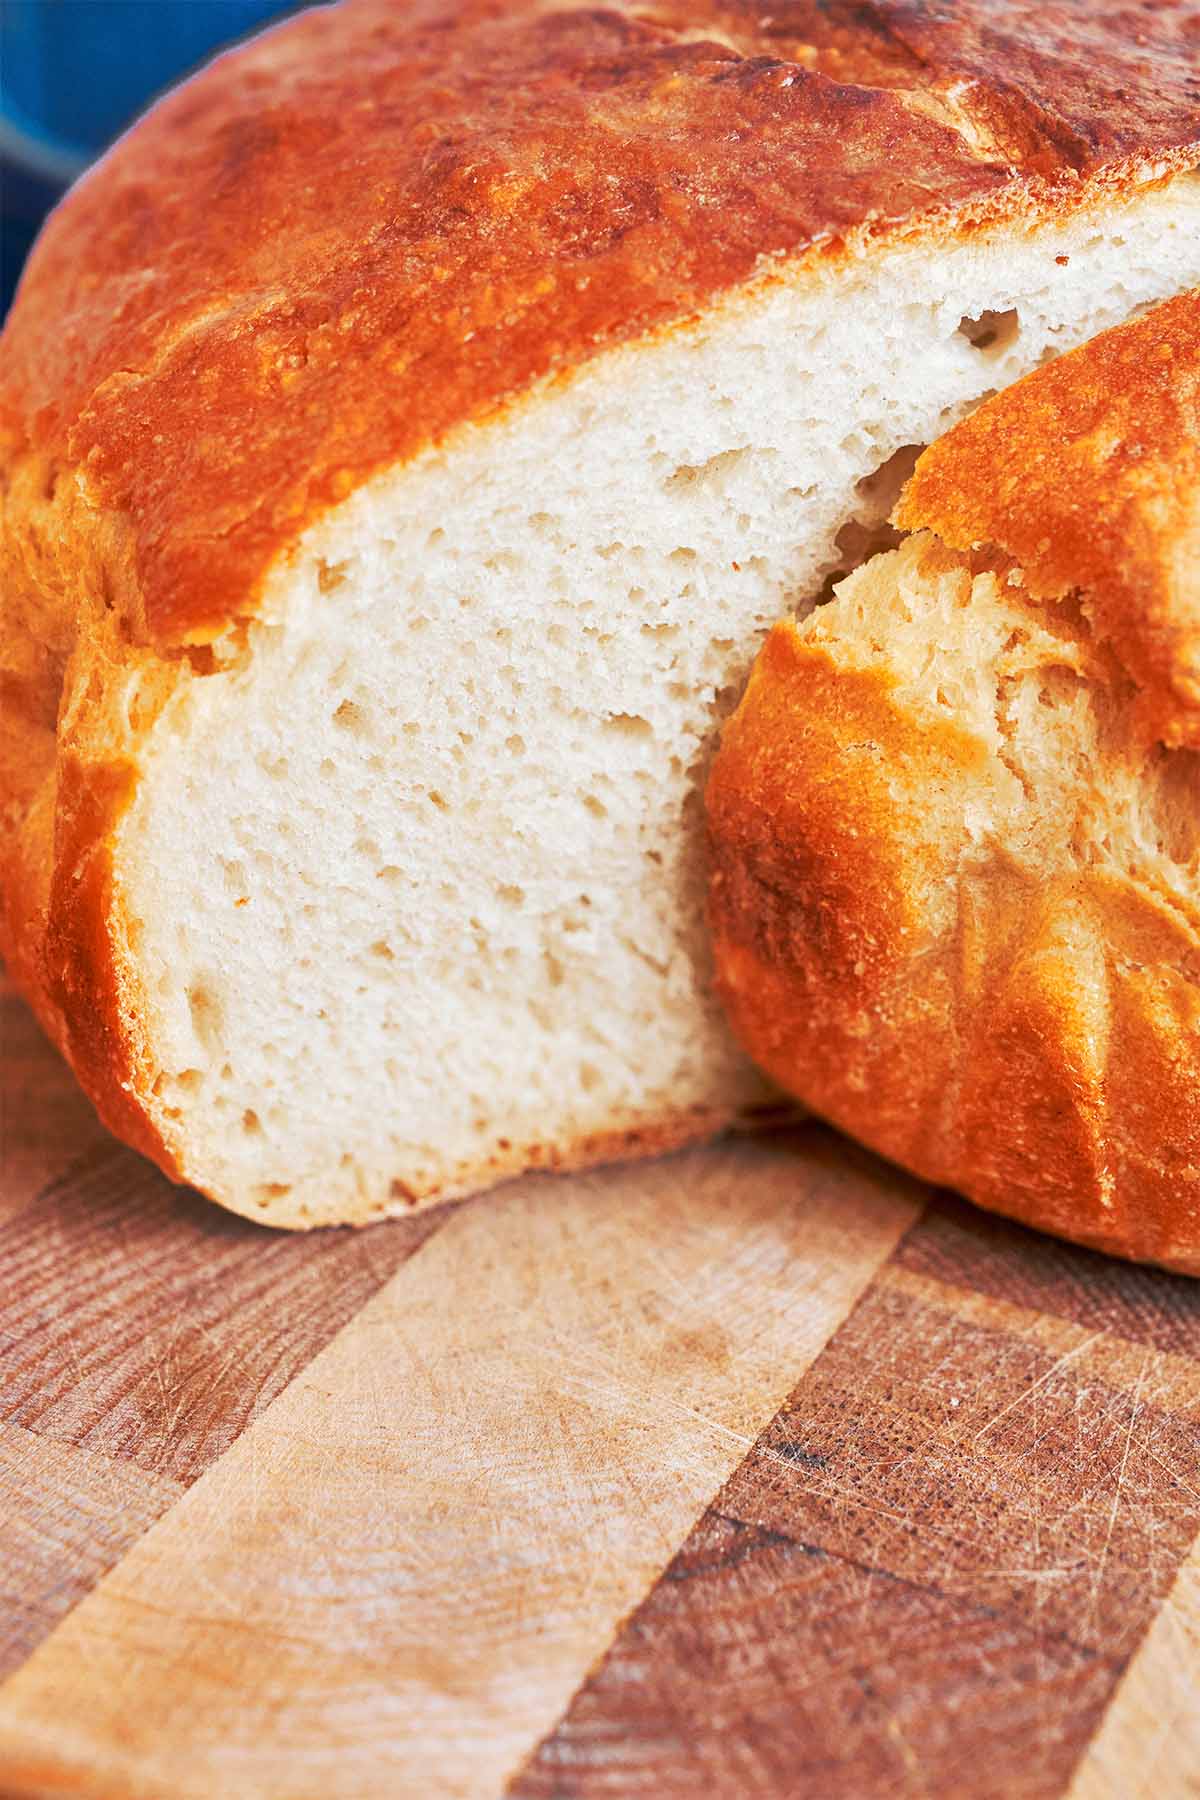
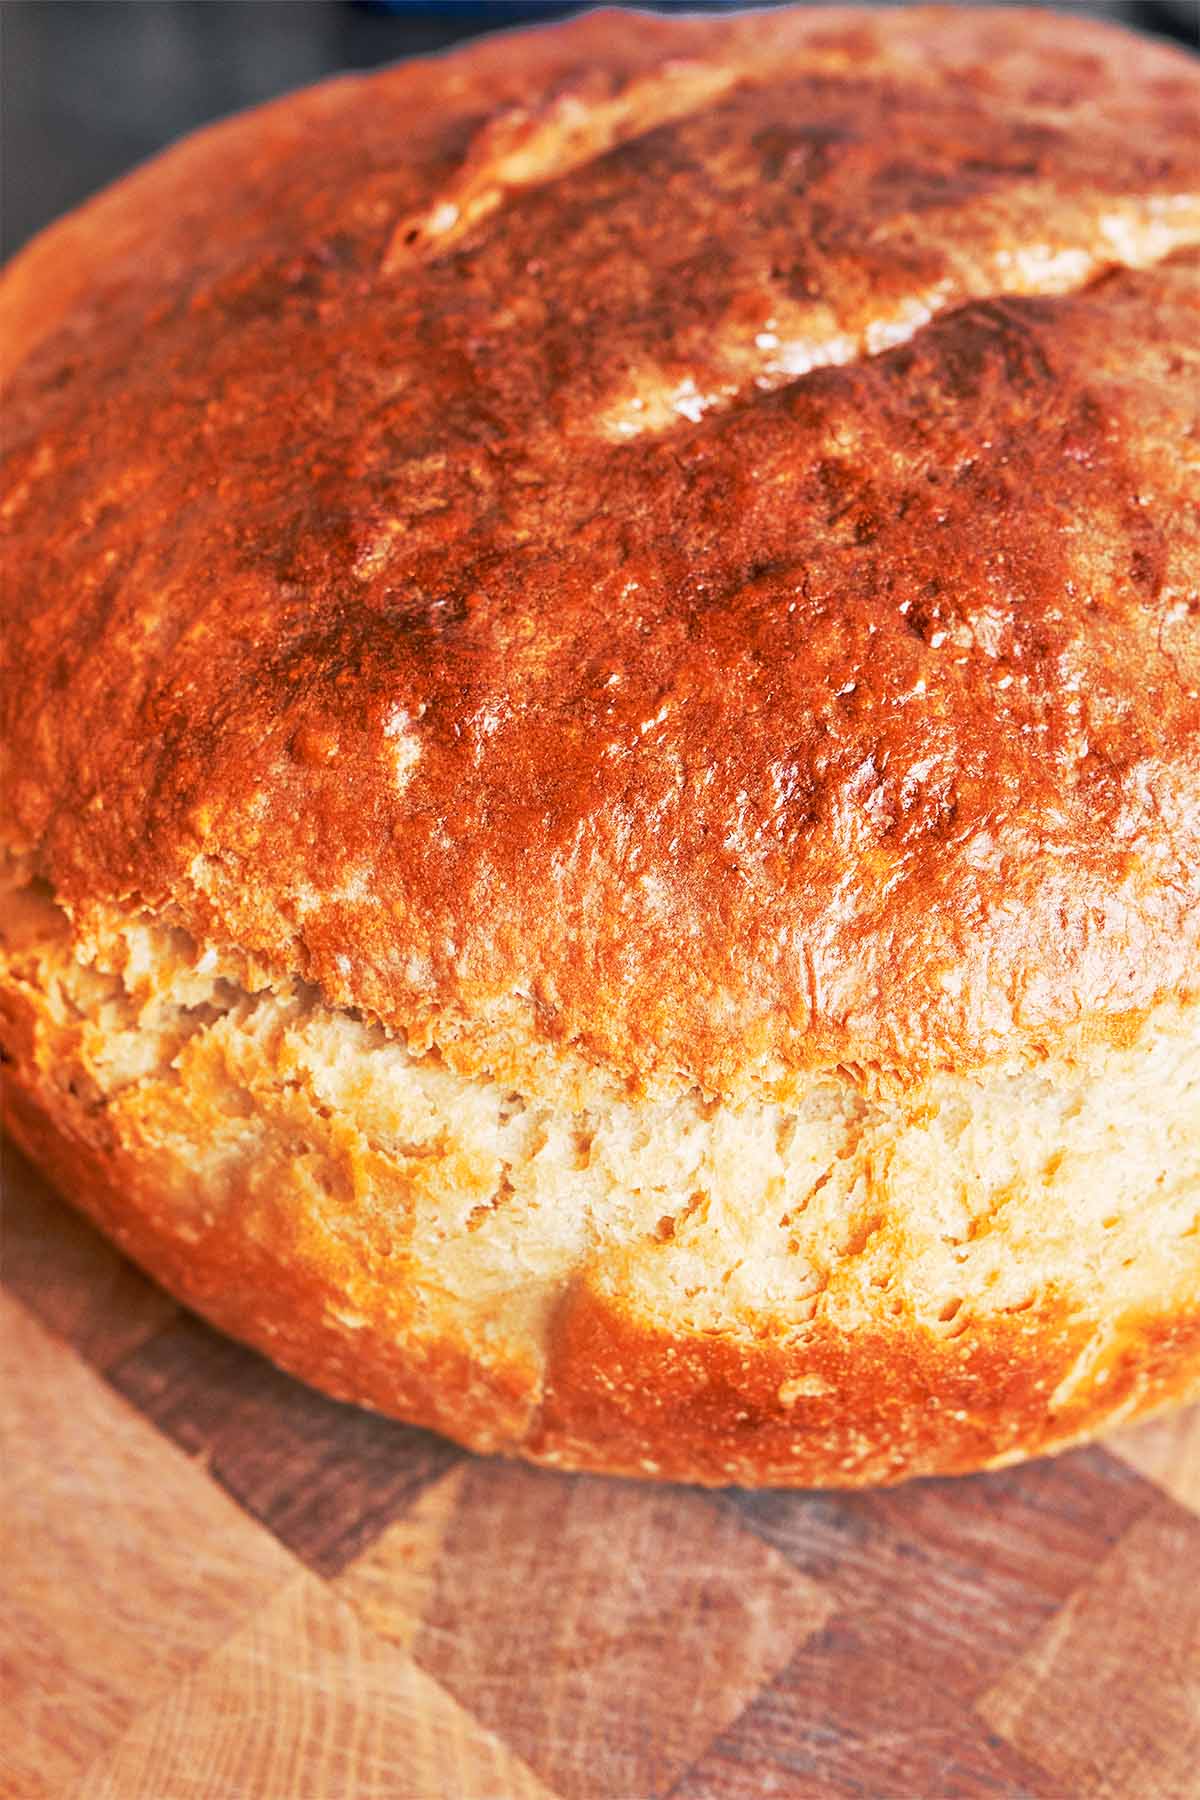
The two rises make a noticeable difference here. The first gives the dough time to become light and airy, while the shorter second rise helps the shaped loaf relax and puff up again before baking. Brushing the top with egg white and a little water is what gives the crust that smooth, deeply golden finish you can see on the baked loaf.
Quick Look at the Ingredients
This simple bread recipe starts with everyday pantry staples, including all-purpose flour and dry yeast. Together, they make a soft yeast dough that rises beautifully and bakes into a light, fluffy loaf.
- All-purpose flour: 2 lb (900 g) gives the dough enough structure to rise well while keeping the finished bread soft and tender inside.
- Dry yeast: 1 teaspoon gives the dough a steady rise and helps create that light, airy crumb.
- Sugar: 2 teaspoons help wake up the yeast and get fermentation started.
- Lukewarm water: Start with 50 g for activating the yeast, then add 2 cups to the dough. If the dough still feels too dry, you can gradually add up to another 1/2 cup as needed.
- Salt: 3/4 tablespoon (2 1/4 teaspoons) seasons the dough and keeps the bread from tasting flat.
- Oil: 3 tablespoons are worked into the dough after kneading to help create a softer crumb.
- Egg white: One egg white mixed with a small splash of water gives the baked loaf its smooth, golden finish.
How to Make Homemade Bread
This homemade bread comes together in a few simple stages, with two rises that give the bread dough time to become light and airy. Watch the dough as you go rather than relying only on the clock.
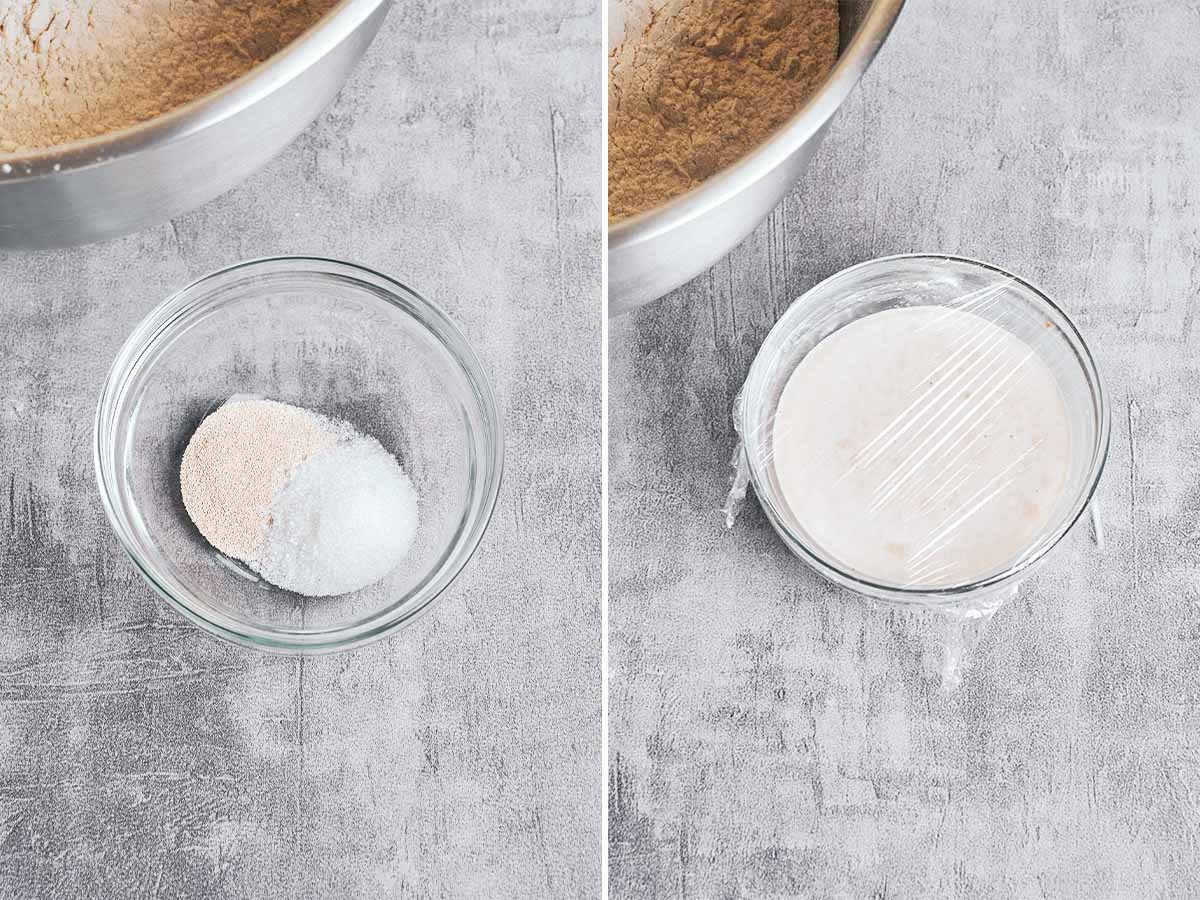
Proof the yeast. Stir 1 teaspoon of yeast and 2 teaspoons of sugar into 50 g of lukewarm water. Cover and let it stand for about 7 minutes, until the mixture looks foamy and bubbly. That’s your sign the yeast is active and ready to add to the flour.
Start the dough. Place the flour in a large bowl and make a well in the center. Pour the activated yeast mixture into the well, then add the salt and 2 cups of lukewarm water.
Knead until combined. Mix and knead the dough well until the flour is fully incorporated and the dough begins to come together. If it feels too dry or there is still loose flour in the bowl, add a little more water at a time, using up to an additional 1/2 cup only as needed.
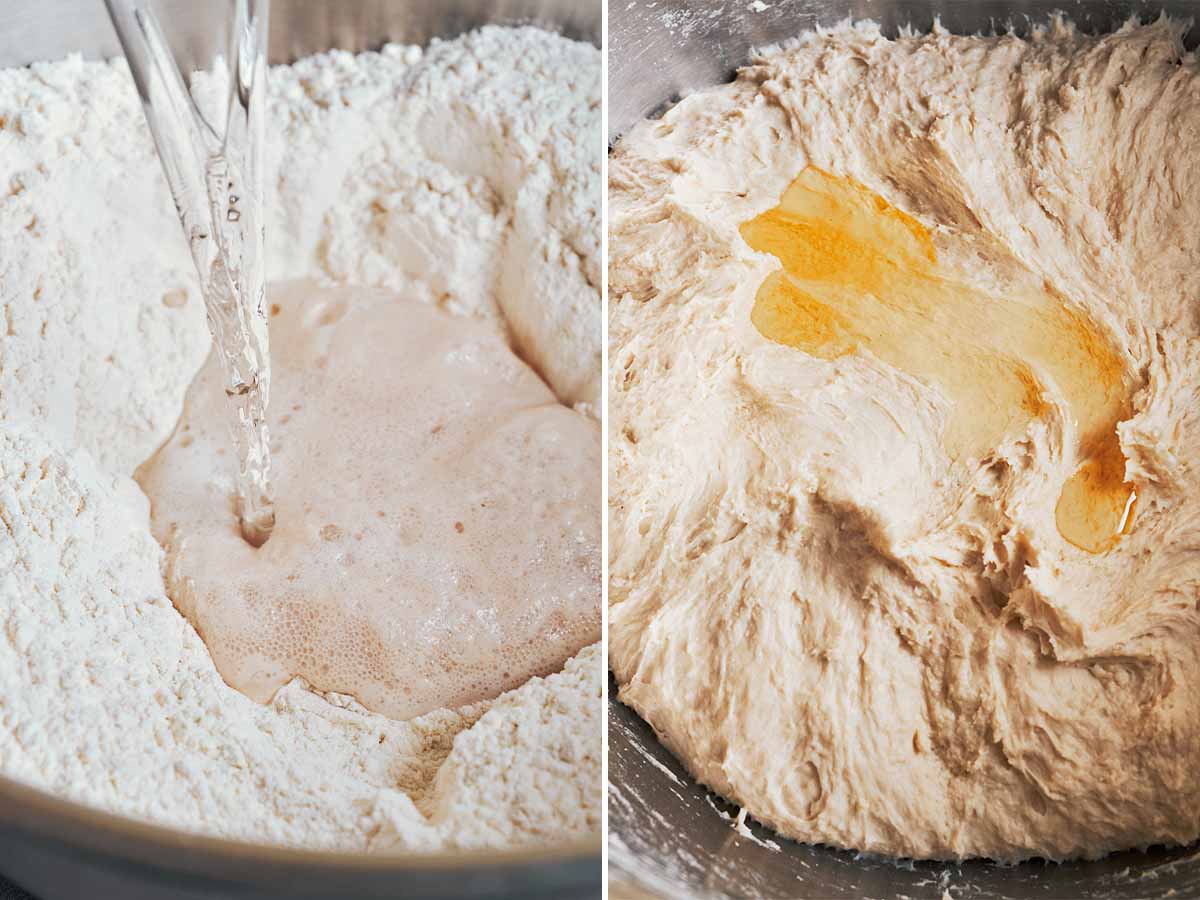
Oil: 3 tablespoons are worked into the dough once it comes together, helping keep the finished crumb soft and tender.
Let the dough rise. Cover the bowl tightly with plastic wrap, then drape a clean kitchen towel over the top for a little extra warmth. Leave it in a warm spot for about 1 1/2 hours, or until the dough has risen noticeably and looks light and puffy.
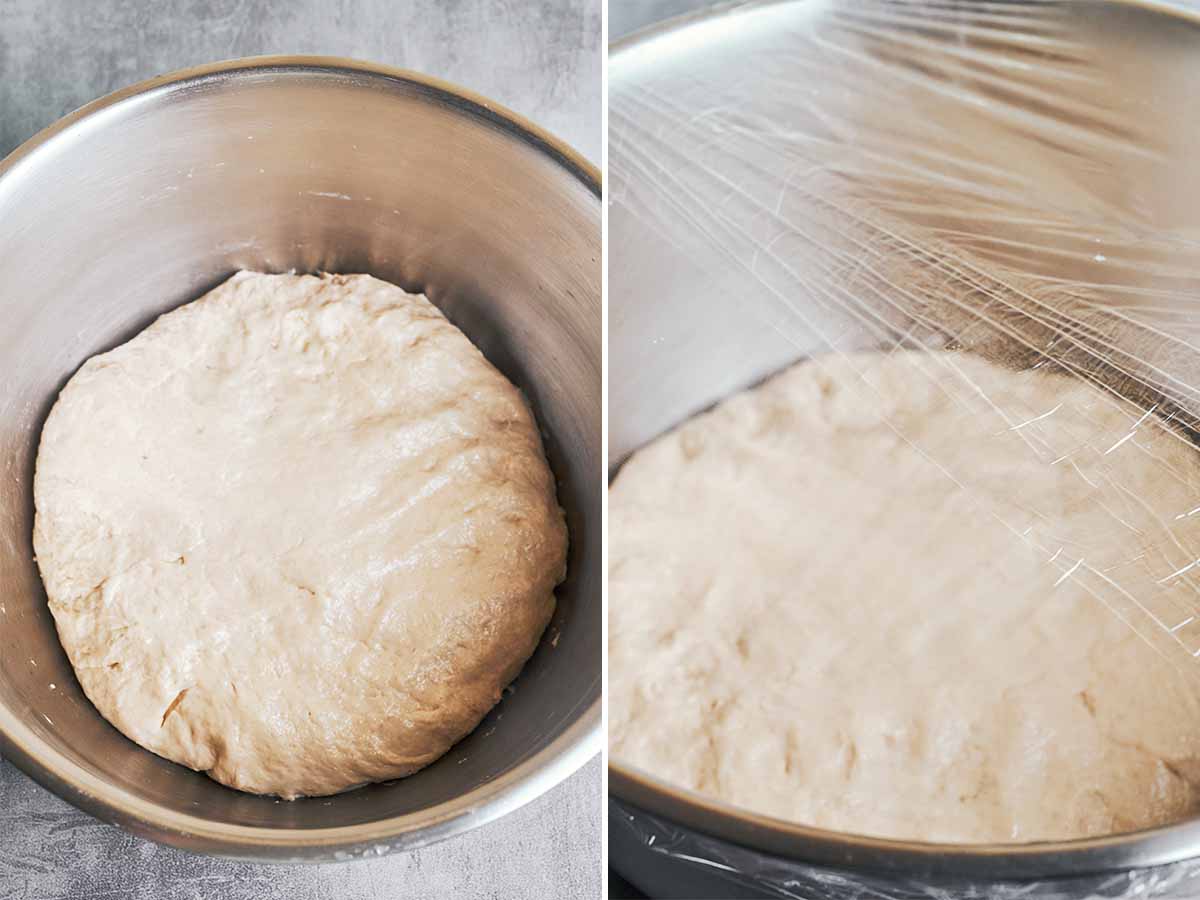
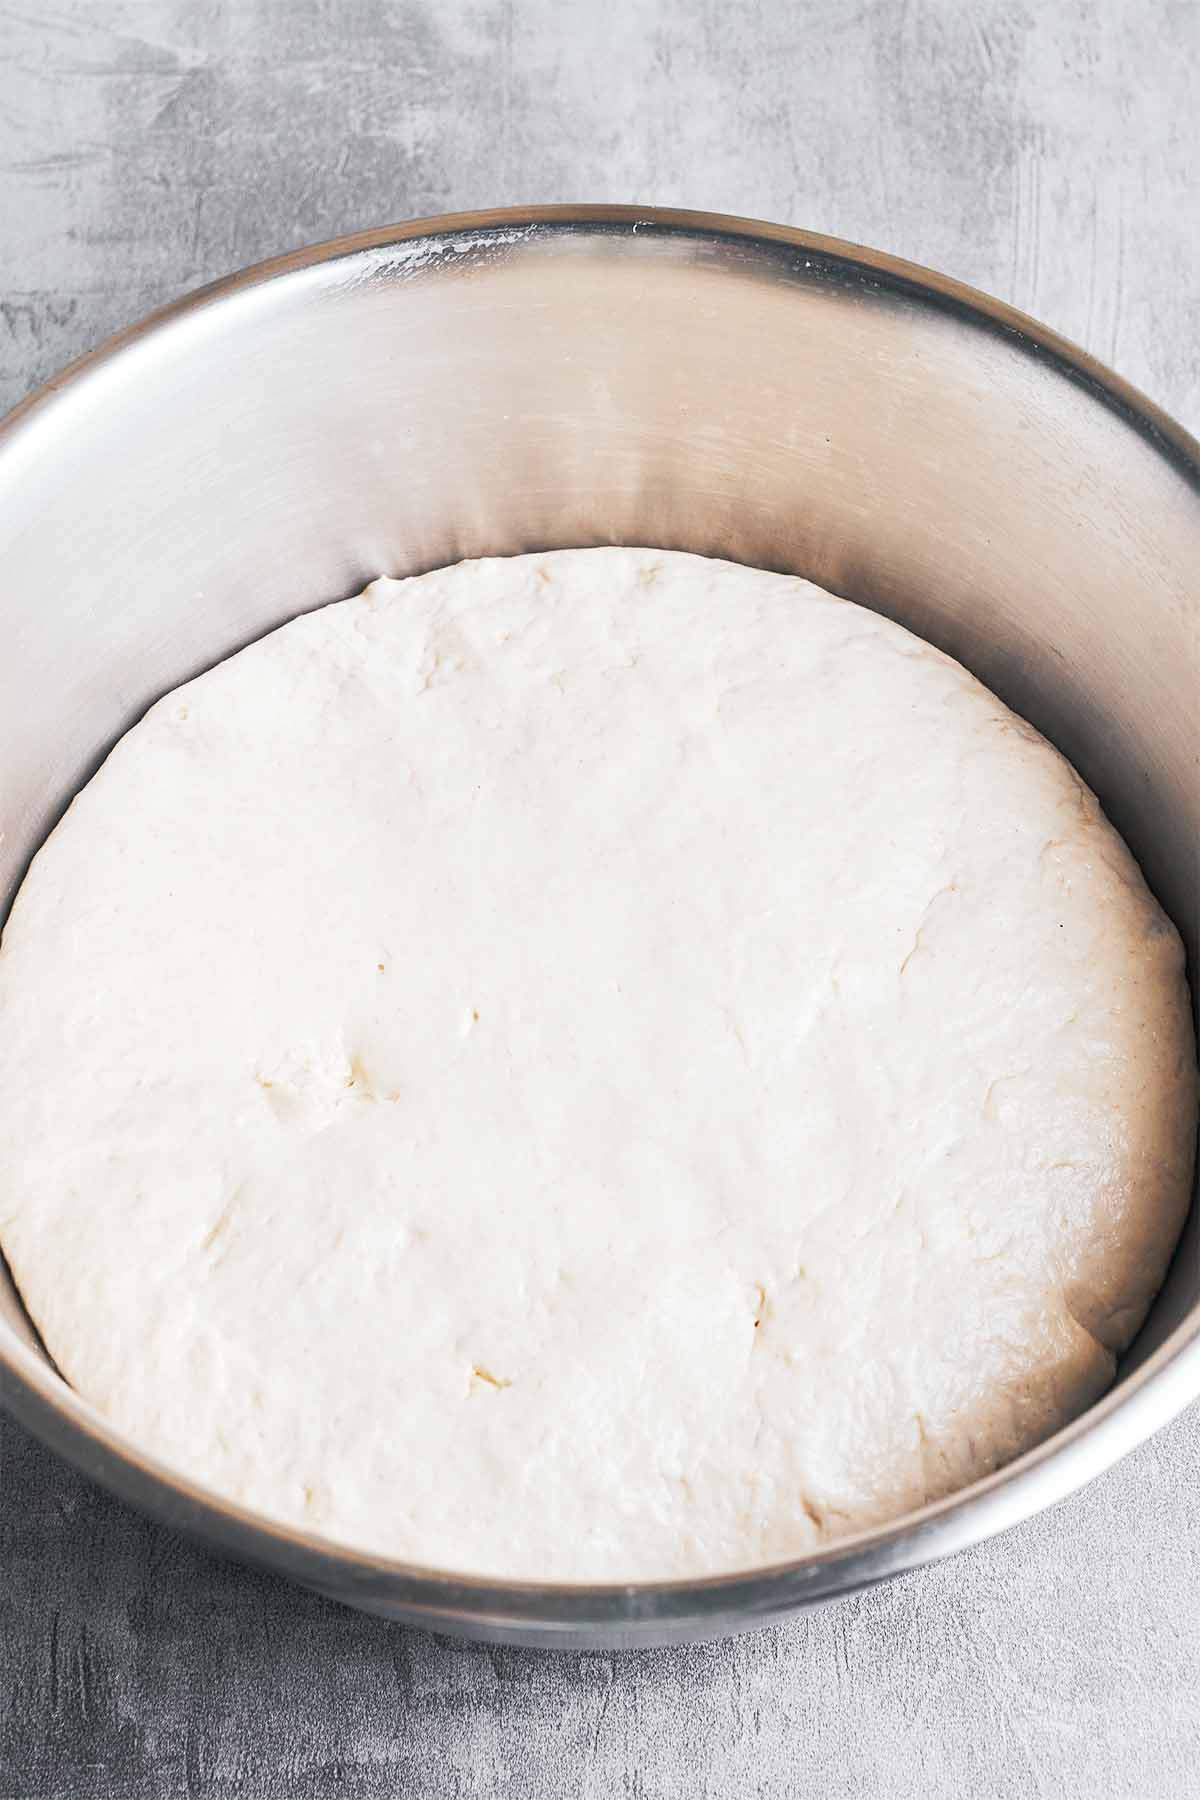
Transfer to the baking dish. Gently move the risen dough into the dish or pan you plan to bake it in, shaping it into an even loaf without pressing out all of the air.
Give it a second rise. Let the dough rest in the baking dish for another 30 minutes. It should puff up again and feel lighter before it goes into the oven.
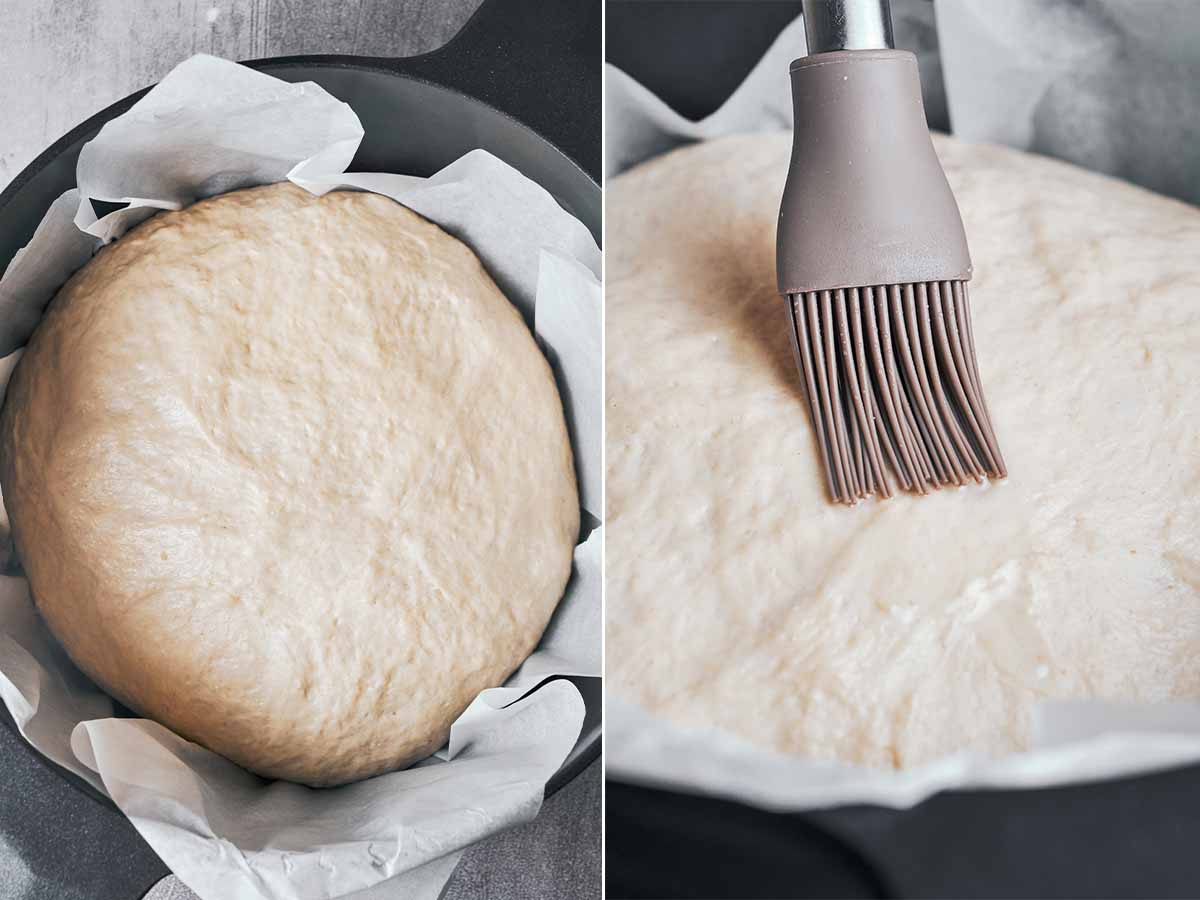
Brush the top. Mix the egg white with a small splash of water, then gently brush it over the surface of the dough. This helps the loaf develop that smooth, deeply golden crust as it bakes.
Bake. Preheat the oven to 350°F (180°C) toward the end of the second rise. Bake the bread for about 1 hour, until the top is deeply golden and the loaf is baked through. Let it cool before slicing so the soft interior has time to set.
Pro Tips for the Best Homemade Bread
- Use lukewarm water, not hot water. This is one of the most important details when baking bread at home. The water should feel comfortably warm, since water that is too hot can weaken or kill the yeast, while cold water will slow down the rise.
- Look for bubbles before adding the yeast to the flour. After about 7 minutes, the yeast mixture should look foamy with small bubbles across the surface. That is a good sign the yeast is active and ready to use.
- Add extra water gradually. Different brands of flour absorb water differently. Start with the 2 cups called for in the recipe and only add more if the dough feels dry, a little at a time, up to about 1/2 cup.
- Give the dough enough time to rise. A warm kitchen helps, but the appearance of the dough matters more than the clock. After the first rise, it should look noticeably larger, soft, and airy rather than dense.
- Be gentle after the first rise. When transferring the dough to the baking dish, avoid pressing out all of the air you worked to build. A gentle touch helps keep the finished crumb lighter.
- Don’t skip the second rise. Those extra 30 minutes in the baking dish allow the dough to puff up again and help give the loaf a better shape and softer interior.
- Let the bread cool before slicing. Fresh bread is tempting to cut immediately, but giving it time to cool allows the crumb to finish setting and keeps the inside from becoming gummy.
- Don’t worry if you’re new to yeast dough. This is a very approachable beginner bread recipe because you can follow the visual cues at each stage, from the foamy yeast to the puffy second rise.
How to Know When the Dough Has Risen Enough
Rising times can vary depending on the temperature of your kitchen, so use the dough itself as your guide. After the first rise, the bread dough should be close to doubled in size and look soft, airy, and noticeably puffy. Those visual cues are more reliable than following the clock exactly.
After transferring it to the baking dish, let it rest for about 30 minutes. The dough should puff up again and look fuller before brushing it with the egg white mixture. If your kitchen is cool, it may need a little longer, so don’t worry if it doesn’t follow the clock exactly.
Storage & Freezing
At room temperature: Once the bread has cooled completely, keep it wrapped well or stored in an airtight container at room temperature for up to 3 days. Slice off what you need and keep the rest of the loaf covered so the inside stays softer.
To freeze: Let the loaf cool completely, then freeze it whole or cut it into slices first. Wrap it tightly and place it in a freezer-safe bag for up to 3 months. Sliced bread is especially convenient because you can take out just a few pieces at a time.
To serve again: Let frozen bread thaw at room temperature, or warm individual slices briefly in the toaster or oven. A few minutes of gentle heat brings back much of that fresh-baked texture.
Frequently Asked Questions
Why might I need extra water in the dough?
Flour can absorb water differently depending on the brand, humidity, and how it was measured. Start with the 2 cups in the recipe, then add a little more only if the dough still feels too dry. You may need up to an additional 1/2 cup, but don’t pour it in all at once.
Can I make homemade bread with all-purpose flour?
Yes. This recipe is made with all-purpose flour, which gives the loaf a soft, tender crumb while still providing enough structure for a good rise. Bread flour can also be used if you prefer a slightly chewier texture, but it may absorb a little more water.
What if my bread dough is taking longer to rise?
That usually comes down to temperature. In a cooler kitchen, the dough may need more than 1 1/2 hours for the first rise. Keep it covered in a comfortably warm place and look for a noticeably larger, soft, airy dough rather than relying only on the clock.
Can I skip the egg white on top?
Yes, the bread will still bake without it. The egg white mixed with a little water mainly helps create the smooth, beautifully browned crust you see on this loaf.
How do I know when homemade bread is fully baked?
After about 1 hour at 350°F (180°C), the loaf should be deeply golden and feel firm on the outside. If you have an instant-read thermometer, the center of a fully baked yeast loaf will generally be around 190–200°F (88–93°C). Let it cool before cutting so the crumb can finish setting.
Homemade Bread
Ingredients
- 2 lb (900 g) all-purpose flour
- 1 tsp dry yeast
- 2 tsp granulated sugar
- 50 g lukewarm water for activating the yeast
- 2 cups lukewarm water plus up to 1/2 cup more if needed
- 3/4 tbsp salt 2 1/4 tsp
- 3 tbsp oil
For Brushing
- 1 egg white
- A small splash of water
Instructions
- Stir the yeast and sugar into 50 g of lukewarm water. Cover and let stand for about 7 minutes, until the mixture becomes foamy and small bubbles appear on the surface.
- Place the flour in a large mixing bowl and make a well in the center. Pour the activated yeast mixture into the well.
- Add the salt and 2 cups of lukewarm water. Mix well and begin kneading until the flour is incorporated and the dough comes together. If the dough feels too dry, add a little extra water at a time, using up to another 1/2 cup only as needed.
- Add the oil and continue kneading until it is fully worked into the dough and the dough feels smoother and more elastic.
- Cover the bowl tightly with plastic wrap. Cover with a clean kitchen towel as well to help keep the dough warm, then leave it in a warm place for about 1 1/2 hours, or until noticeably risen, light, and puffy.
- Gently transfer the risen dough to the baking dish or pan you will use for baking. Shape it into an even loaf without pressing out all of the air.
- Let the dough rest in the baking dish for another 30 minutes, until it puffs up again.
- Preheat the oven to 350°F (180°C). Mix the egg white with a small splash of water and gently brush it over the top of the dough.
- Bake for about 1 hour, until the bread is deeply golden brown and baked through.
- Let the bread cool before slicing so the soft crumb has time to set.
Notes
- The exact amount of water can vary because different flours absorb moisture differently.
- Add the extra water gradually rather than all at once.
- The first rise may take a little longer than 1 1/2 hours in a cool kitchen.
- Watch the dough rather than relying only on the clock.
- For the best texture, allow the loaf to cool before cutting into it.
Can I bake in airfryer
Yes! I’d recommend making a smaller loaf so it fits comfortably in the air fryer basket. Air fryers can vary quite a bit, so start checking it a little earlier than you would in the oven.